-
 Contact Us
-
 Re order
-
 Log in
-
 Cart 0
You have no items in your shopping cart.
How to Print Checks in Quicken for Windows and Mac
Key Observations
- Quicken Classic for Windows and Quicken for Mac both print checks. Quicken Simplifi does not print checks.
- Write the check first and mark it to be printed. Then go to File, then Print Checks, enter the first check number in your printer and print.
- The check style in Quicken must match your paper: Standard for business checks three per page, Voucher for one check with two stubs, and Wallet Checks (Check 21) for personal size checks.
- Quicken prints the payee, amount, date, address and memo. Your bank details and the MICR line must already be printed on the check stock.
- If a check prints wrong, enter the number of the first bad check when Quicken asks, or mark the check to be printed again and reprint it with the correct starting number.
Printing checks from Quicken saves you writing each check by hand and then typing it into your register again. Once your printer is set up, the routine is the same every time: write the check, mark it to be printed, and print it on check stock that matches the style you chose in Quicken.
This guide covers both Quicken for Windows and Quicken for Mac, including partial pages, check numbers and reprinting. It is written by the Checkomatic team, which has made Quicken and QuickBooks compatible checks in Monroe, NY since 1997.
Here is where each step lives in the two versions.
| Step | Quicken for Windows | Quicken for Mac |
|---|---|---|
| Set up the printer | File, then Printer Setup, then For Printing Checks | Settings in the Print Checks window |
| Write a check | Tools, then Write and Print Checks | Transactions, then Write Check |
| Mark it for printing | Record Check (the register shows PRINT) | Select To be printed |
| File, then Print Checks | File, then Print Checks | |
| Reprint | Set the check number back to Print in the register | Edit Check, then select To be printed |
Need check stock that lines up with Quicken? Our Quicken checks come in check on top, three per page and wallet formats, with your bank details and MICR line already printed.
What is in this guide
- Which versions of Quicken can print checks?
- What checks do you need to print from Quicken?
- How do you set up your printer?
- How do you write a check in Quicken?
- How do you print checks in Quicken for Windows?
- How do you print checks in Quicken for Mac?
- How do you print a partial page of checks?
- Which check number should you enter?
- How do you reprint a check in Quicken?
- Why do Quicken checks print in the wrong order?
- What if the text does not line up?
- Questions about printing checks in Quicken
- Questions about Quicken check stock
Which versions of Quicken can print checks?
Quicken Classic for Windows and Quicken for Mac can both write and print checks on a laser or inkjet printer. Quicken Simplifi cannot print checks; it is a web and mobile app that only prints reports.
If you use Simplifi and need paper checks, you would need a desktop version of Quicken or other check printing software. The rest of this guide covers the Windows and Mac desktop versions.
What checks do you need to print from Quicken?
You need Quicken compatible check stock in one of three styles, and the style you load must match the Check Style setting in Quicken. The stock should already carry your name, bank details, check numbers and the MICR line, so your printer only adds the payee, amount, date and memo.
| Check stock | Layout | Check Style to choose in Quicken | Best for |
|---|---|---|---|
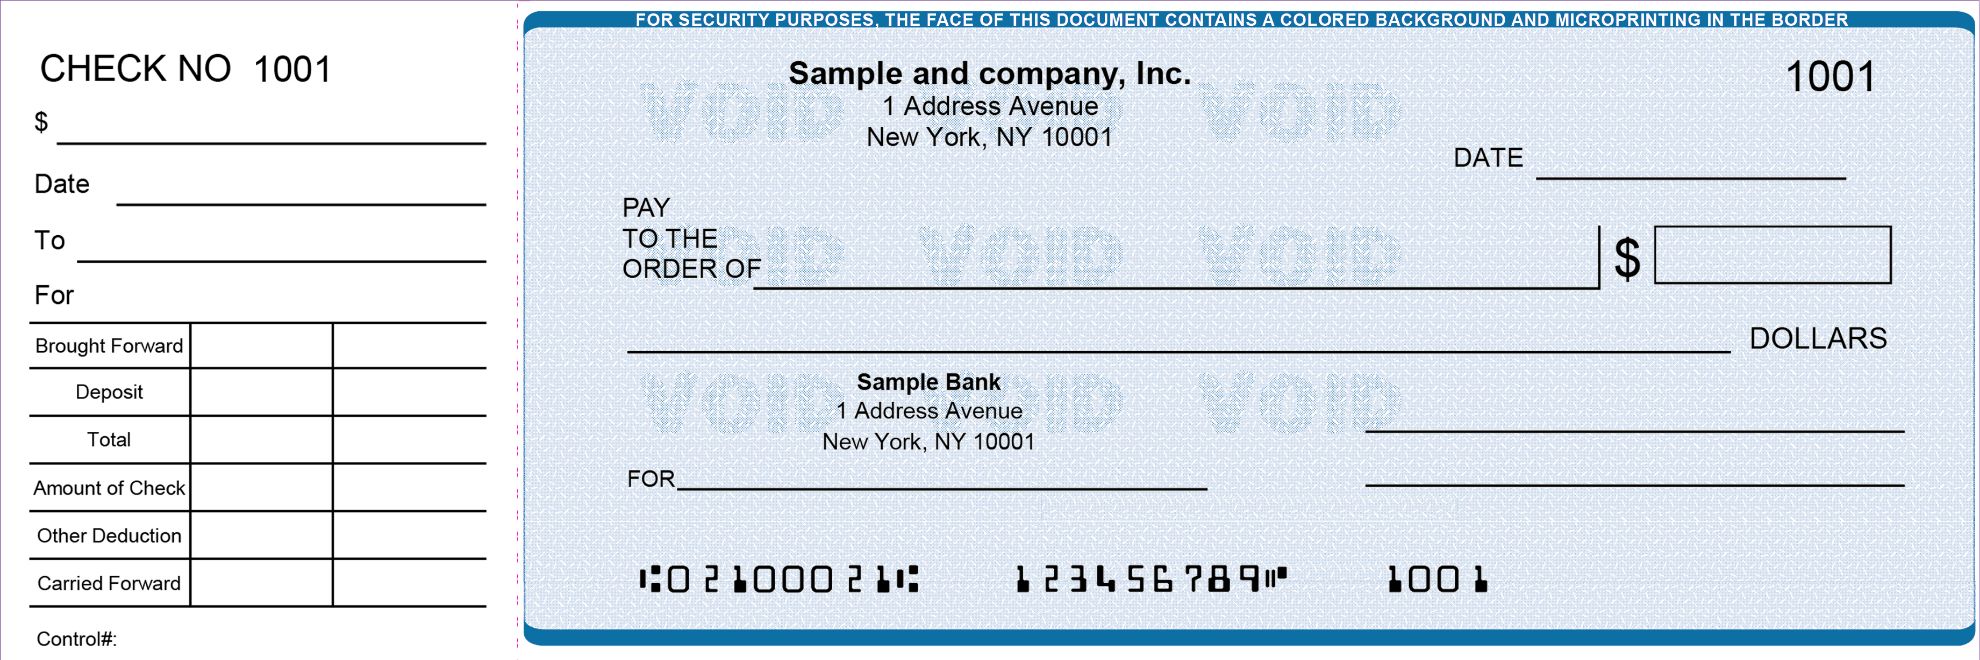
| Check on top (voucher) | One business check and two stubs per page | Voucher Checks | Bills and payroll where you keep a stub |
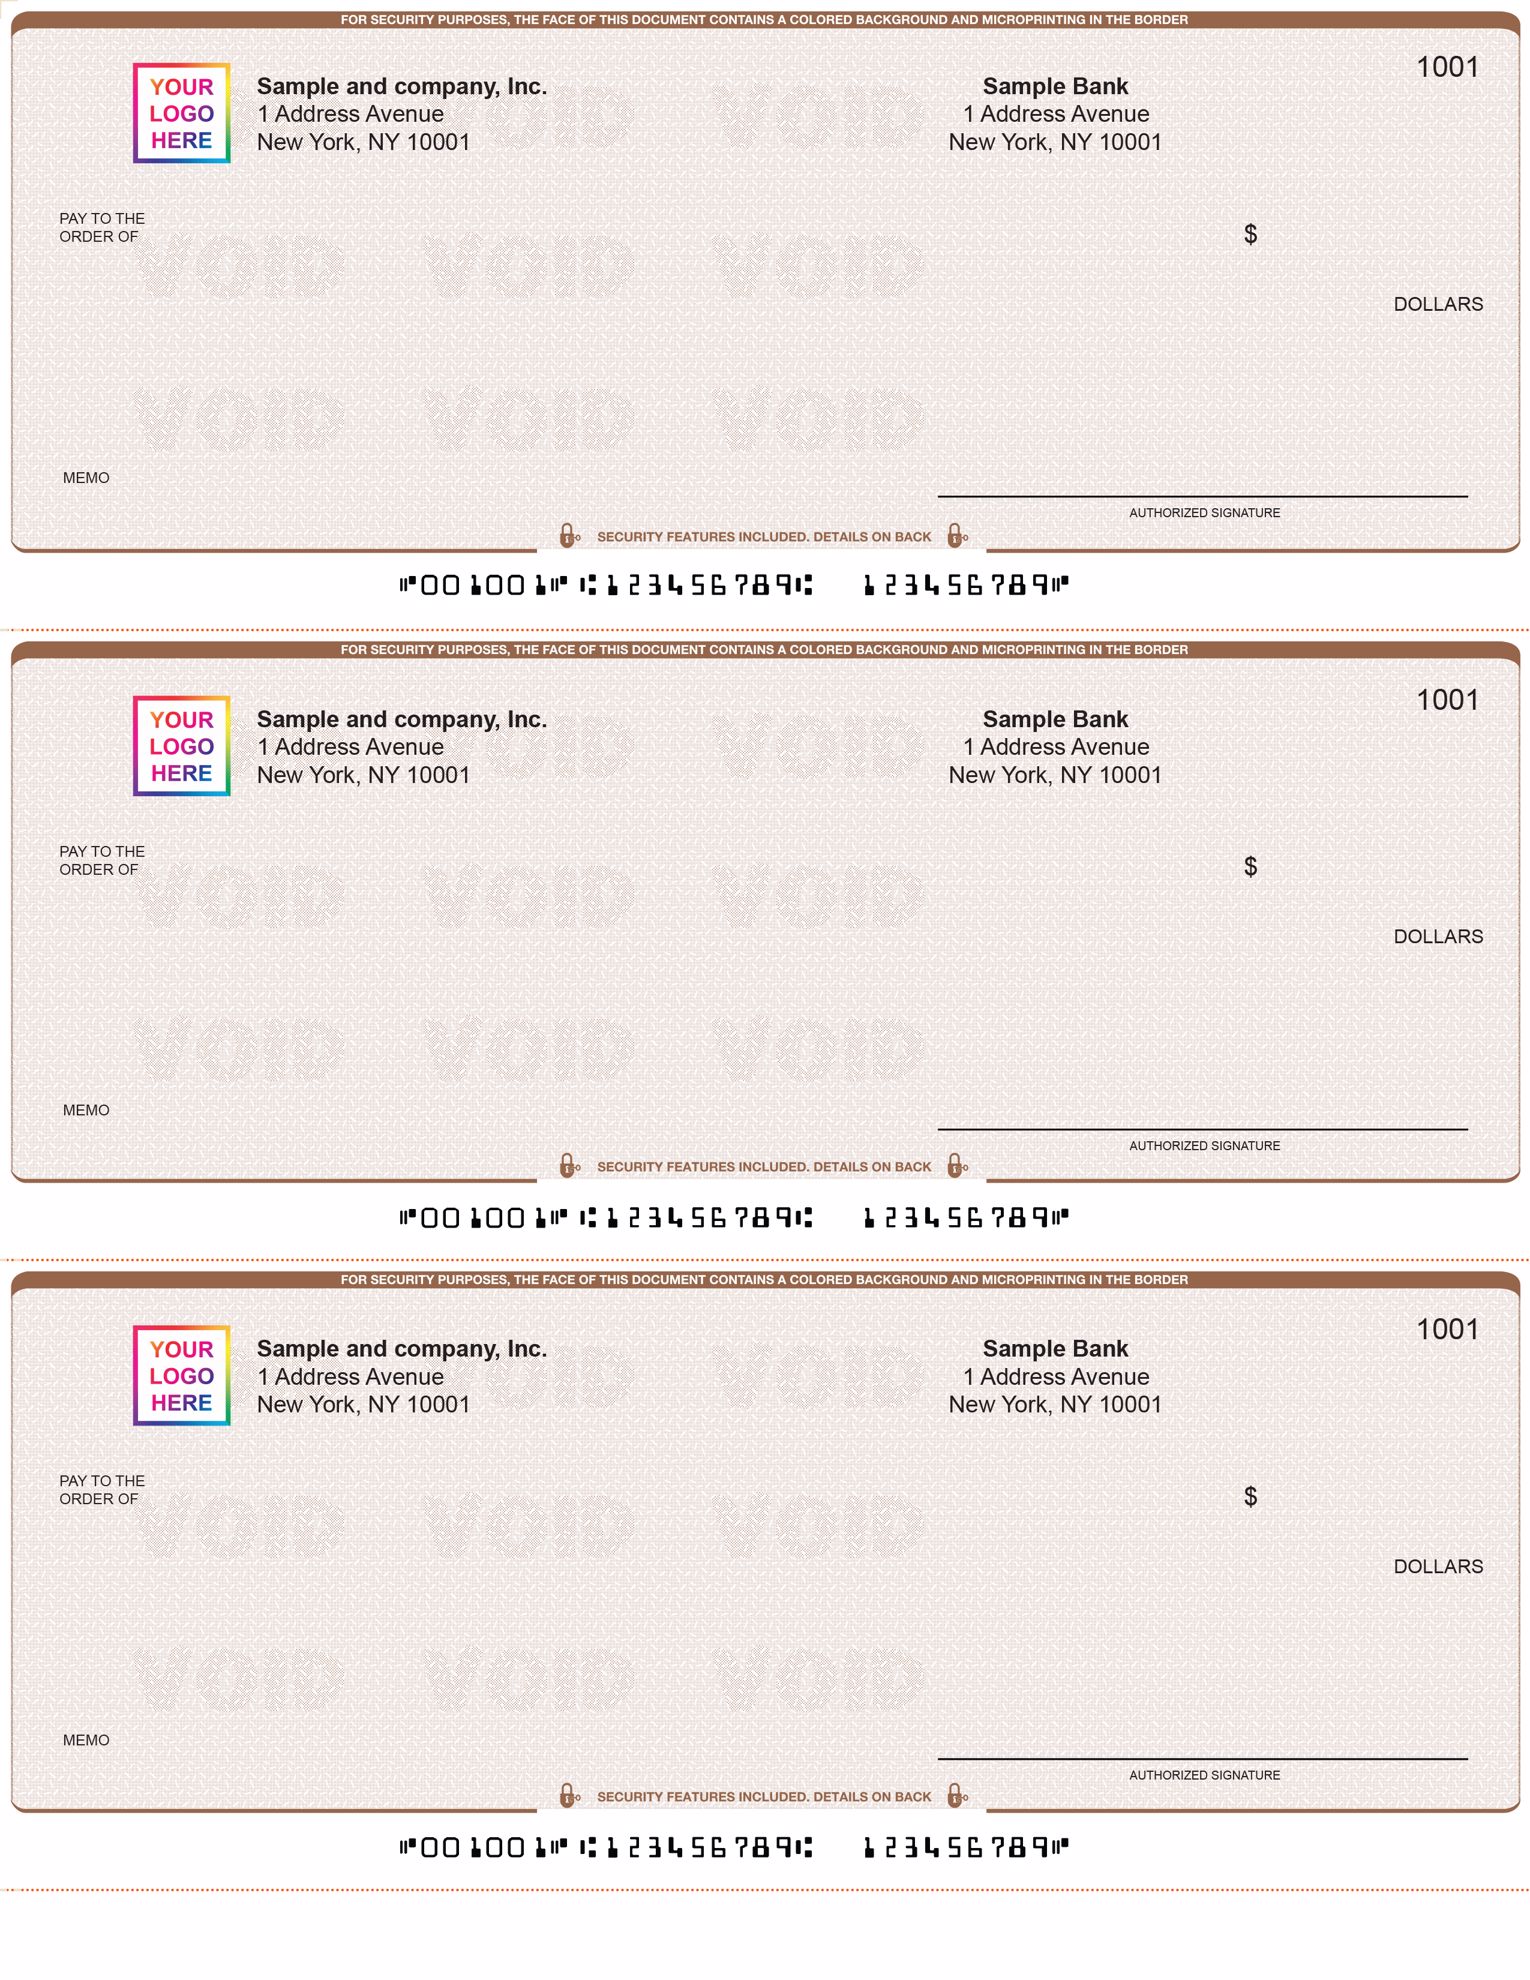
| Three per page | Three business size checks, no stubs | Standard Checks | Printing several checks at once |
| Wallet | Three personal size checks, each with a stub | Wallet Checks (Check 21) | Personal checking |
For wallet checks, choose the Check 21 wallet style rather than the older Wallet Checks setting. Quicken's help notes that traditional wallet checks are being phased out, and picking the wrong wallet style is a common reason the date and amount land in the wrong place.
You do not need MICR toner when the MICR line is pre-printed. Our guide to the MICR line explains what those numbers at the bottom of the check do.
How do you set up your printer for Quicken checks?
In Quicken for Windows, go to File, then Printer Setup, then For Printing Checks. Choose your printer, select Page-oriented for a laser or inkjet printer, pick the check style that matches your stock, choose the paper source and select OK.
- Open printer setup. Go to File, then Printer Setup, then For Printing Checks.
- Choose your printer. Select it from the Printer list.
- Select Page-oriented. This covers laser and inkjet printers.
- Pick the check style. Standard, Voucher or Wallet Checks (Check 21), to match your stock.
- Set the paper source. Choose a full page source and, if you print partial pages, a partial page style and source.
- Save and test. Select OK, then follow any alignment prompts using plain paper first.
In Quicken for Mac, the check style, first check number and partial page settings sit in the Print Checks window itself, so you confirm them each time you print.
Load check stock the way you load letterhead in that printer. Quicken also requires the numeric dollar amount to print in Arial, Regular, 10 point, in black, so banks can read it. You cannot change that field, but you can change the font for the other fields.
How do you write a check in Quicken?
In Quicken for Windows, go to Tools, then Write and Print Checks, choose the account, enter the payee, amount and memo, then select Record Check. In Quicken for Mac, go to Transactions, then Write Check, fill in the check and select To be printed.
- Open the check window. Windows: Tools, then Write and Print Checks. Mac: select the checking account, then Transactions, then Write Check.
- Enter the payee and amount. Quicken writes the amount out in words for you.
- Add the address if needed. Fill this in if you use window envelopes.
- Add a memo and category. Remember the memo shows through a window envelope.
- Save it for printing. Windows: select Record Check. Mac: select To be printed, then press Enter.
Do not type a check number. Quicken shows PRINT in the register's number column and fills in the real check number when the check prints. To print a check you already entered in the register, change its number field to Print and save it.
How do you print checks in Quicken for Windows?
To print checks in Quicken for Windows, open the account, go to File, then Print Checks, enter the first check number on the stock in your printer, choose which checks to print and select OK. When Quicken asks if the checks printed correctly, confirm or enter the first check that needs reprinting.
- Open the account. Open the checking account the checks come from.
- Go to File, then Print Checks.
- Load the checks. Insert them the same way you would insert letterhead.
- Enter the first check number. Type the number printed on the top check in the tray.
- Choose which checks to print. All Checks, Checks Dated Through a date, or Selected Checks.
- Check the options. Confirm the check style and, for a partial page, the number of checks on the first page.
- Print. Select OK. Use Print First if you want to test just the first check.
- Answer the prompts. If asked about a tear-off strip, answer to match your stock. When asked if the checks printed OK, select OK or enter the number of the first incorrectly printed check.
How do you print checks in Quicken for Mac?
To print checks in Quicken for Mac, go to File, then Print Checks, choose the account and the checks, then select Print. Before the final Print, confirm the first check number, the check style and whether the first page is a partial page.
- Go to File, then Print Checks.
- Select the account. Choose the account that holds the checks.
- Select the checks. Make sure each check you want has a check mark.
- Select Print.
- Verify the settings. The first check number matches your stock, the check style matches your paper and the partial page setting is right.
- Select Print again.
If a check you wrote does not appear, open the register, make sure the Check # column is showing, and choose Print Check in that column for the transaction.
How do you print a partial page of checks?
To print a partial page of three per page checks, select Checks on First Page in the print options and choose how many checks are left on that sheet. Quicken prints the top check on the sheet first and feeds a new sheet when the partial page is used up.
- Leave the tear-off strip on. Quicken's help says you get better results with the strip attached.
- Check the partial page setting after updates. Users in the Quicken community report the partial page style changing after an update, which prints the checks sideways.
- Use a form leader if your printer will not feed short sheets. A form leader is a full size carrier sheet that holds the partial page.
- Consider voucher checks. With one check per page there are no partial pages, which suits occasional printing.
Which check number should you enter?
Enter the number printed on the first check loaded in your printer. Quicken uses that number for the first check and counts up from there, so the numbers in your register match the paper checks.
Quicken suggests that printed checks start at a number well above your handwritten checks, for example 3001 if your personal checks are in the 1000s. That keeps the two sets apart in one account. Always look at the top sheet before printing rather than trusting the number Quicken suggests.
How do you reprint a check in Quicken?
To reprint a check in Quicken, destroy or void the misprinted check, mark the transaction to be printed again, then print it from File, then Print Checks, entering the number on the next sheet in your printer.
- Straight after printing: when Quicken asks if the checks printed OK, enter the number of the first check that printed incorrectly. Quicken keeps that check and the ones after it ready to print.
- Windows, later: in the register, change the check number of the transaction back to Print, save it, then print as usual.
- Mac, later: select the transaction in the register, select Edit Check, select To be printed, save, then print as usual.
Shred the misprinted check, since it carries your account and routing numbers. The reprint uses a new sheet, so its check number will be the next one on your stock.
Why do Quicken checks print in the wrong order?
Quicken prints checks lowest number first. If they come out in reverse, your printer is set to print back to front or needs the checks loaded face down in a different order.
Set the printer to print pages in normal order for check jobs, or load the sheets so the lowest numbered sheet feeds first. Run a two sheet test on plain paper with numbers written on it before you use real checks.
What if the text does not line up on your Quicken checks?
If the payee, date or amount prints in the wrong place, first confirm the check style matches your paper. Then run Quicken's alignment test on plain paper, hold it over a real check and adjust. Align full pages and partial pages separately, because Quicken saves a setting for each.
If settings keep changing, Quicken support suggests going to File, then Validate and Repair File, and selecting Reset all Quicken printer settings, then closing and reopening Quicken. Our full guide to Quicken check alignment covers drifting text, memo lines and Windows and Mac fixes step by step.
Quicken checks from Checkomatic
Every Checkomatic Quicken check arrives with your name, address, bank name, routing and account numbers and the MICR line already printed, so Quicken only adds the details of each payment. Choose the format that fits how often you print:
- Quicken check on top: one check and two stubs per page, so there are no partial pages.
- Quicken checks three per page: three business size checks per sheet for batch printing.
- Quicken wallet checks: three personal size checks per sheet, each with a stub.
Every order includes a free black and white logo, standard orders ship in three to five business days, and rush options are available at checkout.
Ready to print from Quicken? Order Quicken checks in the format that matches your Check Style setting.
Questions about printing checks in Quicken
Does Quicken print checks?
Yes. Quicken Classic for Windows and Quicken for Mac both print checks on laser and inkjet printers. Quicken Simplifi does not print checks.
How do I print a check in Quicken?
Write the check and mark it to be printed, then go to File, then Print Checks. Enter the first check number in your printer, choose the checks and print.
Why is my check not showing in the Print Checks window?
It is not marked to be printed. In the register, change its check number to Print, or on a Mac select To be printed, then save.
Can I print just one check from a sheet of three?
Yes. Select Checks on First Page and choose how many checks are on the sheet. Quicken prints the top check on that sheet first.
Can I print my logo from Quicken?
Yes. Quicken has a Print Your Logo option for BMP, JPG or PNG files. If your logo is already printed on the check stock, leave it off.
Questions about Quicken check stock
What checks work with Quicken?
Quicken compatible checks in voucher, standard three per page or Check 21 wallet format. Choose the matching Check Style in Quicken before printing.
Can I print Quicken checks on blank paper?
Not as payable checks. Quicken does not print your bank details or the MICR line, so use check stock that already has them.
Do QuickBooks checks work in Quicken?
The voucher and standard layouts are the same, so they generally print correctly when you choose the matching Check Style. Test one sheet on plain paper first.
Do I need MICR toner to print Quicken checks?
No, not when the MICR line is pre-printed on your stock. Regular laser or inkjet ink is fine for the fields Quicken prints.
What check number should my Quicken checks start at?
Pick a number well above your handwritten checks so the two sets never overlap, for example 3001 if your paper checks are in the 1000s.
Accepted by the world’s leading banks